How to Properly Restore Your iPhone in 2025: Essential Tips and Solutions
Restoring an iPhone can be a daunting task, but when performed correctly, it can breathe new life into your device. Whether you need to restore your iPhone to factory settings due to performance issues, prepare for a new iOS update, or want to erase personal data before selling it, understanding how to **restore your iPhone** properly is crucial. This comprehensive guide will cover essential steps, methods, and tips to ensure a smooth iPhone restoration process, allowing you to enjoy an optimal user experience in 2025.

Understanding the Restoration Process
The restoration process for your iPhone involves several steps designed to reset your device to its original factory settings or recover it from backups. Knowing the various methods available is essential for anyone looking to **restore their iPhone** effectively. Different situations call for distinct restore options such as using iTunes, Finder, or iCloud. In this section, we’ll guide you through the general overview of the iPhone restore process, including essential tips and considerations.
The Steps to Backup Your iPhone
Before diving into restoring, it’s paramount to back up your data to ensure you don’t lose any important files. You can backup your iPhone using iTunes or iCloud. For an iTunes backup, connect your device to your computer, open iTunes, select your device, and choose “Back Up Now.” If you prefer using iCloud, go to Settings > Your Name > iCloud > iCloud Backup, and tap “Back Up Now.” Make sure to confirm your backups are complete before proceeding to **restore your iPhone from backup**.
Options for Restoring Your iPhone
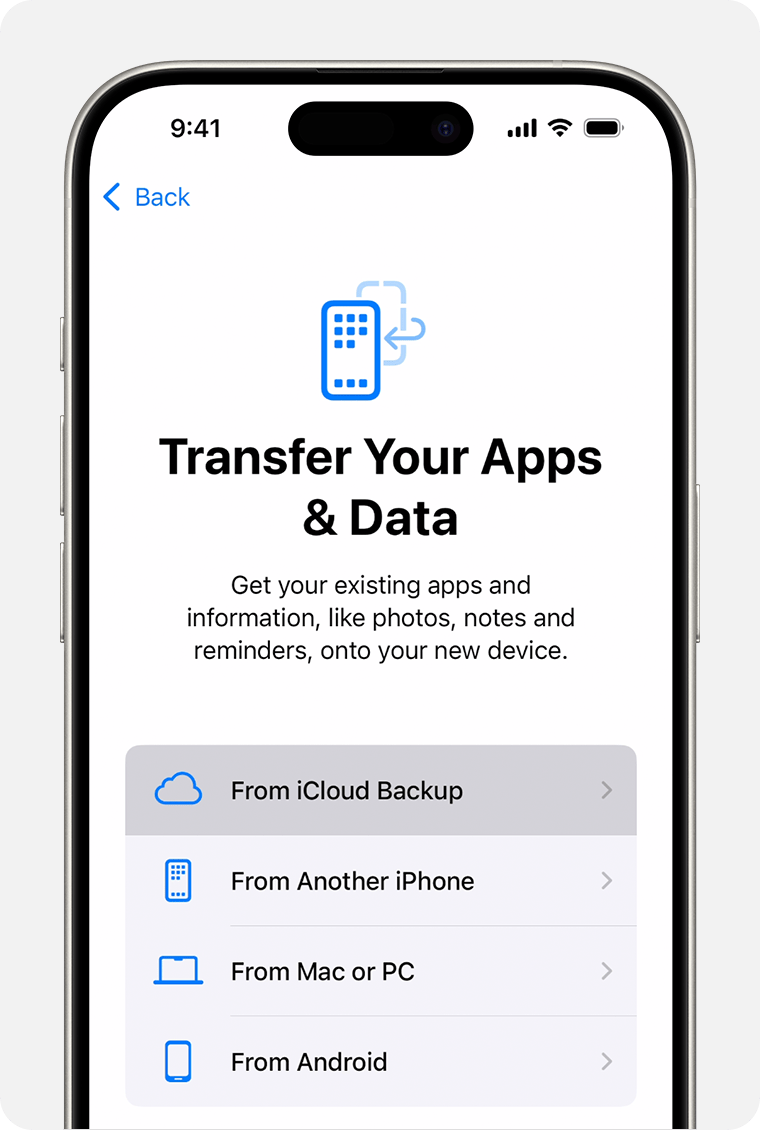
When it comes time to **restore your iPhone**, you have multiple options. You can opt for **iTunes restore**, which requires a computer but provides a direct way to access all your iPhone’s files. Alternatively, **restoring through iCloud** allows you to recover apps and settings without needing a computer. For those looking for a simpler method without additional software, **restoring via Finder** on Mac computers running macOS Catalina or later offers an efficient alternative.
Performing an iPhone Factory Reset
Factory resetting your iPhone is an effective way to clear all settings, applications, and data, leaving the device as if it were new. This is usually recommended if your device is facing severe issues, such as slowing down or if you plan to sell it. It’s vital to remember to perform a backup before opting for a **factory reset iPhone**, as this process erases everything from the device. Below are details on how to effectively complete a factory reset safely.
How to Reset iPhone Settings
To reset your iPhone settings without deleting your data, navigate to Settings > General > Transfer or Reset iPhone > Reset. From here, tap on “Reset All Settings.” This option helps address minor issues without a complete wipe, allowing you to keep your data intact while restoring necessary settings.
Steps to Erase All Content from Your iPhone
To perform a full **erase all content iPhone**, use the Reset option mentioned earlier—select “Erase All Content and Settings.” Proceeding with this will prompt you to enter your passcode followed by a confirmation message. Remember that upon completion, your iPhone will restart, and all personal data will be erased, requiring you to **setup your iPhone** as new or restore it from a backup.

Troubleshooting iPhone Restore Issues
While trying to **restore your iPhone**, you may encounter certain issues. Problems can range from failure during the restoration process to data being incorrectly transferred. Understanding common problems and how to troubleshoot them can save you time and frustration. Below, we highlight effective troubleshooting techniques and solutions for the most prevalent restore problems.
Common Restore Errors
Experience error messages such as “iTunes could not restore the iPhone” or “Your backup could not be restored” can be frustrating. Ensure your iTunes is up to date, and the iPhone is not connected to the same local network that caused the issue. If restoring from iCloud, ensure you have a stable internet connection. It may indicate a damaged backup; consider using data recovery tools for iPhone if mediating these restore errors.
Fixing iPhone Restore Performance Problems
If your iPhone seems sluggish post-restore or exhibits strange behavior, a quick **reset iPhone settings** might clear things up. Sometimes, issues arise from app discrepancies or iOS bugs. After performing a reset, observe if your iPhone’s performance improves; if it doesn’t, a complete factory reset may be necessary to remedy the issues.
Tips for Effective iPhone Restoration
Restoring your iPhone may seem complex, but several methods exist to simplify the process. Here are essential tips and solutions that enable effective one-click restoration while minimizing data loss. By following these guidelines, you increase your chances of performing successful restoration tasks on your iPhone.
Using iCloud for Safe Restores
A significant benefit of using methods like **iCloud restore iPhone** is the ease of accessibility from anywhere, provided internet access. Consider scheduling regular automatic backups to ensure your latest information is securely stored in iCloud. This can help restore portions if needed, without losing any critical data, even if your iPhone is lost or damaged.
Benefits of Restoring Your iPhone Regularly
Frequent restorations not only prolong your device’s lifespan but also assure the proper functioning of software updates. A well-maintained iPhone means smoother operation and security enhancements. Additionally, an **iPhone restore** can clear unnecessary data, reclaim storage, and allow you to benefit from upgraded features seamlessly.
Key Takeaways
- Always backup your iPhone before commencing any restoration.
- Utilize various methods to restore as per your need—iTunes, iCloud, or Finder.
- For effective settings management, consider a reset without affecting data.
- Familiarize yourself with troubleshooting techniques for common restoration errors.
- Regular restore practices promote optimal performance and longevity for your iPhone.
FAQ
1. How can I reset iPhone settings without losing data?
You can reset your iPhone settings by going to Settings > General > Transfer or Reset iPhone > Reset > “Reset All Settings.” This method restores settings without affecting your data or apps.
2. What should I do if my iPhone fails to restore?
If your iPhone won’t restore, begin by checking for the latest iTunes updates and ensuring a reliable internet connection. Also, try changing USB cables or ports if you’re using a physical connection. If the issue persists, consider alternative software recovery tools for fixing iPhone issues.
3. How often should I backup and restore my iPhone data?
For optimal data safety, dealing with critical information, aim to **backup iPhone** data at least once a week. Regular backups ensure that current data gets captured and can be restored quickly if lost or accidentally deleted.
4. Can I restore my iPhone without a computer?
Yes, you can easily **restore iPhone without iTunes** by using iCloud directly from your device. All you need is an internet connection and your Apple ID to access your backup and follow the prompts to restore data safely.
5. What are the best recovery tools for iPhone data?
Several recovery tools available for iPhones include Dr.Fone, EaseUS MobiSaver, and Tenorshare UltData. These tools help recover deleted files and assist in retrieving data without losing existing content during the restore process.
6. How can I backup and restore my iPhone music?
Backing up music can be done either through iTunes or iCloud. You can ensure your songs are part of your general backup. If you need to restore, simply launch iTunes and select **Restore iTunes library** after connecting your device for music recovery.
7. How to recover deleted files on iPhone?
You can attempt to use the **iPhone data recovery** feature within iTunes or third-party software solutions specifically designed for recovering deleted files from iPhones. Always ensure you back up data before using any recovery attempts to prevent complications.