Effective Ways to Use the Snipping Tool for Rapid Screen Captures in 2025
The snipping tool has long been an essential feature for capturing screenshots on Windows devices, allowing users to quickly grab screen content for various purposes. In 2025, despite emerging alternatives, the classic windows snipping tool remains an invaluable utility for professionals and casual users alike. This article serves as a detailed snipping tool tutorial, exploring its remarkable features, efficient capturing methods, and effective tips for maximizing productivity.
Unlocking the Features of the Snipping Tool
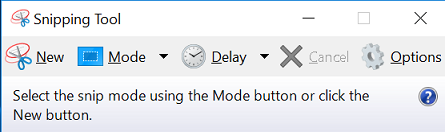
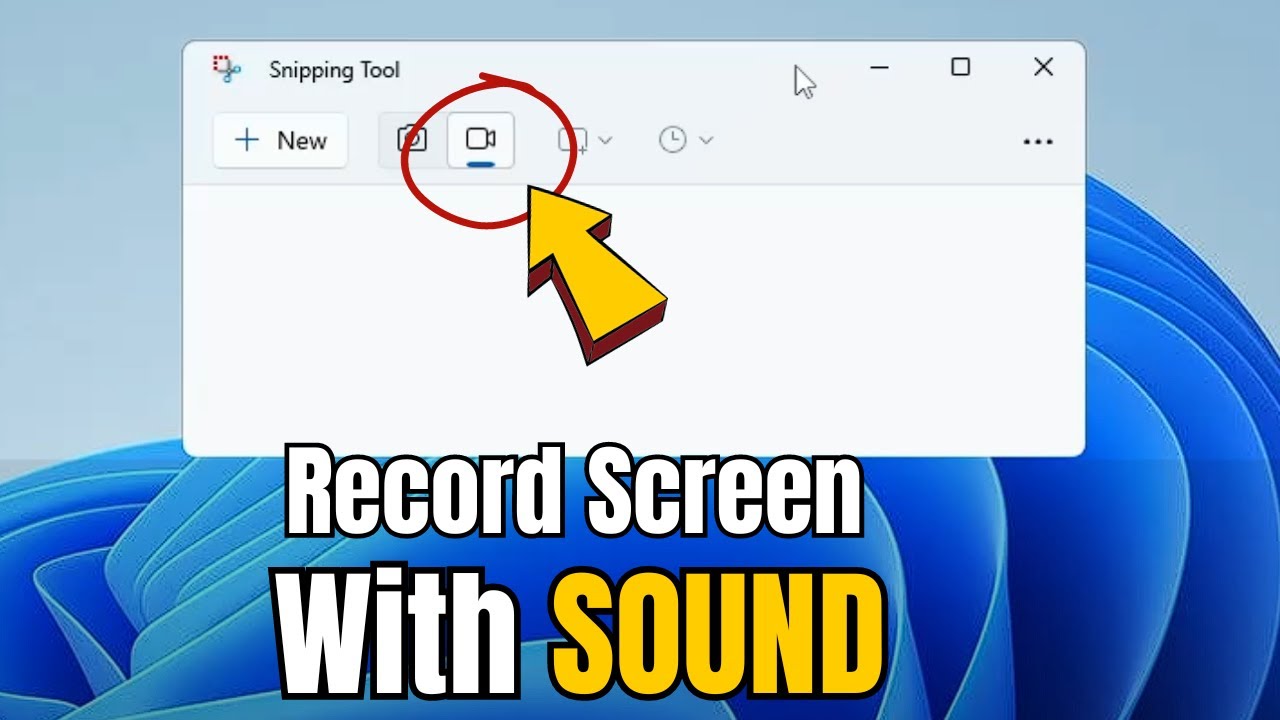
The snipping tool features present a multitude of options to adapt the tool to your needs. From different capture modes to editing capabilities, knowing how to use them effectively can enhance your screenshot experience. The tool allows capturing images in three primary modes: rectangle, freeform, and window. Each mode serves specific needs; for instance, the rectangle mode is perfect for capturing square portions of your screen, while the freeform mode allows creative selections of any shape.
Exploring Snipping Tool Capture Modes
Understanding the various snipping tool capture modes is essential to utilize this tool fully. The rectangle mode specifically allows users to draw a rectangle around the desired content, effectively capturing clear and focused screenshots. In contrast, the freeform snipping mode allows for more creativity, enabling users to capture irregular areas. The snipping tool window mode can be invaluable when you need to capture entire application windows or menus quickly, establishing a clearer depiction of software functionalities and layouts.
Editing Screenshots in the Snipping Tool
Another popular snipping tool feature is the ability to edit screenshots immediately after capturing. Once you complete a snip, the editing interface allows for basic modifications, including highlighting or annotating with different colors and shapes. For instance, marking key points in presentations can enhance visual communication. Utilizing these snipping tool options can provide tailored visual documentation suited for your specific audience or project, making your screenshots not only more informative but also visually appealing.
Customizing Snipping Tool Settings
Snipping tool settings allow users to tailor the application to their specific needs. Adjusting things like delay time for capturing screens can help in taking more accurate screenshots, especially when dealing with on-screen pop-ups or contextual menus. By customizing options like the default file format for saved images or shortcuts, the application becomes a more integrated part of one’s workflow, significantly enhancing overall productivity.
Practical Tips for Using the Snipping Tool Efficiently
Maximizing the snipping tool usage entails adopting specific techniques and shortcuts. Learning essential shortcuts significantly speeds up the screenshot process, offering time-saving benefits in both professional and academic settings. Notably, knowing how to save snipping tool images directly to your desired file location eliminates unnecessary steps and streamlines file management for users tasked with frequent capturing and sharing of screen content.
Using Keywords and Shortcuts
Implementing snipping tool shortcuts can drastically optimize your workflow. A few well-known keyboard shortcuts enhance usability: pressing Win + Shift + S opens the snipping menu instantly, making it accessible without navigating through menus. Furthermore, once a screenshot is taken, practice using Ctrl + V to paste captured images directly into documents or emails. These keyboard shortcuts are not only efficient but essential for anyone aiming for swift screen clipping during busy work days.
Enhancing Collaborations with Snipping Tool
The snipping tool offers an effective way to share visual information, making it a vital asset for teams working collaboratively on projects. Sharing images directly from the snipping tool interface or copying to the clipboard allows for seamless integration in presentations and reports. Utilizing these share options can facilitate digital communication within teams, providing visually pertinent data readily suited for immediate consumption during brainstorming sessions or client meetings.
Adopting Best Practices
While utilizing the snipping tool, adhering to snipping tool best practices guarantees consistency and efficiency. For instance, developing a habit of annotating screenshots with relevant explanations improves their clarity and ensures that they can stand alone without needing additional context. Regularly reviewing saved images and implementing a categorization strategy can also enhance accessibility, ensuring that past captures are easy to retrieve and reference when needed.
Advanced Functionality for Optimal Use
For power users, delving deeper into the functional capabilities of the snipping tool can unlock new potential in digital communication. The application not only serves as a basic screenshot utility but also supports annotations, which are crucial for making informative decisions based on visuals. This advanced functionality helps in various industries, from education to marketing, contributing to streamlined workflows and improved team dynamics.
Utilizing the Delay Function
The snipping tool’s delay feature allows users to set a brief wait time before taking a screenshot. This is especially beneficial for capturing dropdown menus or other elements that require activation. Simply select the delay option in the snipping tool options and wait for the designated time, enabling the user to orchestrate screenshots perfectly without missing crucial context. This can immensely enhance documentation quality, making sure nothing vital is overlooked.
Challenges and Troubleshooting
While the snipping tool is user-friendly, challenges can emerge. Users might experience difficulties with the capturing function or settings that don’t apply as expected. It’s important to familiarize oneself with common snipping tool troubleshooting methods, such as checking for software updates or addressing permissions issues. Having a reliable installation guide and community resources handy can also help ensure a smoother experience whenever you rely on the snipping tool.
Comparison with Other Screenshot Software
Lastly, it’s useful to it in the broader context by comparing the snipping tool with other screenshot software. While many modern alternatives boast advanced features and cloud sharing/support, the classic snipping tool provides unmatched simplicity and effectiveness for basic screen captures. Taking time to evaluate your needs against the capabilities of the snipping tool vs competing tools can make a huge difference in workflow efficiency, guiding you towards the best tool for your specific workflow needs.
Key Takeaways
- The snipping tool remains a vital utility for capturing screenshots in 2025, despite growing competition.
- Understanding its various capture modes and features is crucial for efficient usage.
- Using keyboard shortcuts and good practices can significantly enhance productivity while using the tool.
- The tool can play a substantial role in enhancing digital collaboration through visually effective documentation.
- Awareness of troubleshooting and alternative applications keeps users prepared for any unexpected challenges.
FAQ
1. What file formats can I save images with the snipping tool?
The snipping tool primarily allows users to save images in formats such as PNG, JPEG, and GIF. These formats are among the most suitable for sharing screenshots around various platforms, ensuring that quality is retained, but keep in mind that certain circumstances might call for alternative saving solutions or image editing tools to obtain preferred formats.
2. Does the snipping tool have any accessibility features?
Yes! The snipping tool includes accessibility features that enhance usability for those with disabilities, including keyboard shortcuts that provide quick access, making it user-friendly for all demographics. Familiarizing yourself with these features can enhance the overall experience and accommodate various user needs.
3. Can I use the snipping tool to annotate my screenshots?
The snipping tool allows users to annotate their screenshots post-capture. You can utilize various tools to highlight specific areas, draw shapes, and add text directly onto the images. This feature makes it ideal for providing clear instructions or feedback based on visuals.
4. What should I do if the snipping tool is not working correctly?
If the snipping tool experiences issues, first check for updates to ensure you have the latest version. Restarting the application or your computer may also resolve many common problems. If it persists, refer to the installation guide or troubleshooting pages to identify and fix the specific issue.
5. How does the snipping tool compare to the print screen function?
While both the snipping tool and print screen function allow for capturing screens, they differ in accessibility and selection options. The snipping tool provides more flexibility in choosing what part of the screen to capture, along with immediate editing features, unlike the standard print screen function, which captures the entire display at once.
6. Are there alternative applications to the snipping tool?
Yes, various alternatives offer similar functionality, such as Greenshot, Snagit, and Lightshot. Each of these applications may provide additional features, such as advanced editing options or better sharing capabilities, which might suit specific user requirements or workflows.
7. Is the snipping tool available on all Windows versions?
The snipping tool is available in various versions of Windows, including 10 and later versions. However, some features might differ slightly based on different operating systems. Ensuring the correct application version is installed will guarantee access to the full capabilities of the snipping tool.
Utilizing the snipping tool effectively in 2025 can drastically enhance your screen capturing productivity. Whether for professional or personal use, understanding its full functionalities and synergizing them with your workflow can revolutionize the way you share and analyze digital visuals.